DIY FISH GEL FOOD
- Fins & Whiskers

- May 5, 2019
- 2 min read
Necessities: Gelatin or Agar-agar, Blender, Measuring Tools, Vegetables, Powder, Baby Food, Raw Fish, Large Ice Tray (or several), Vitamins

If you came across this post, chances are you have developed an eager eye for finding better options for your fish. Let's face it, commercial pet stores just don't carry what pets actually need most of the time, and the few options that are available are pretty damn expensive. Every living thing needs sources of food, and the healthier, the better off they are. DIY Gel Food is an excellent and simple way to create variety for your fish's diet while being able to control what exactly goes into them!
Gather your ingredients. I made this recipe so that my fish would eat their veggies more but you can add, change, and combine different ingredients to suit what your fish need or need more of.
For this recipe made for omnivores I used: 1 Cup of Tilapia (you could also add shrimp, white fish, krill, or other seafood-based meat for more protein) 1/2 Cup of Spinach & Kale 1/4 Cup of Broccoli & Cauliflower 1/6 Cup of Gelatin or Agar-agar 1 Tablespoon of Baby Food Carrot (no added sugar or salt) 1 Teaspoon of Spirulina Powder Half a clove of garlic (this will boost your fish's interest in the food combination)
A source of multivitamins and minerals.
Measure the ingredients.


After measuring each ingredient, it's time to blend. I used a thermomix for this process, but any blender will do. Blend until puréed. If you're having trouble mixing the ingredients together alone, you can add water.

Next, boil water. Boiling water is necessary in order for the gelatin or agar-agar to bind the ingredients together properly.

Using the same bowl with the mixed ingredients, pour the gelatin or agar-agar over and mix. Because gelatin contains animal protein, having a thin layer is very important so that it won't fill your fish up before gaining the necessary nutrients. Add boiling water while stirring. Eventually, a glaze will appear on the surface.

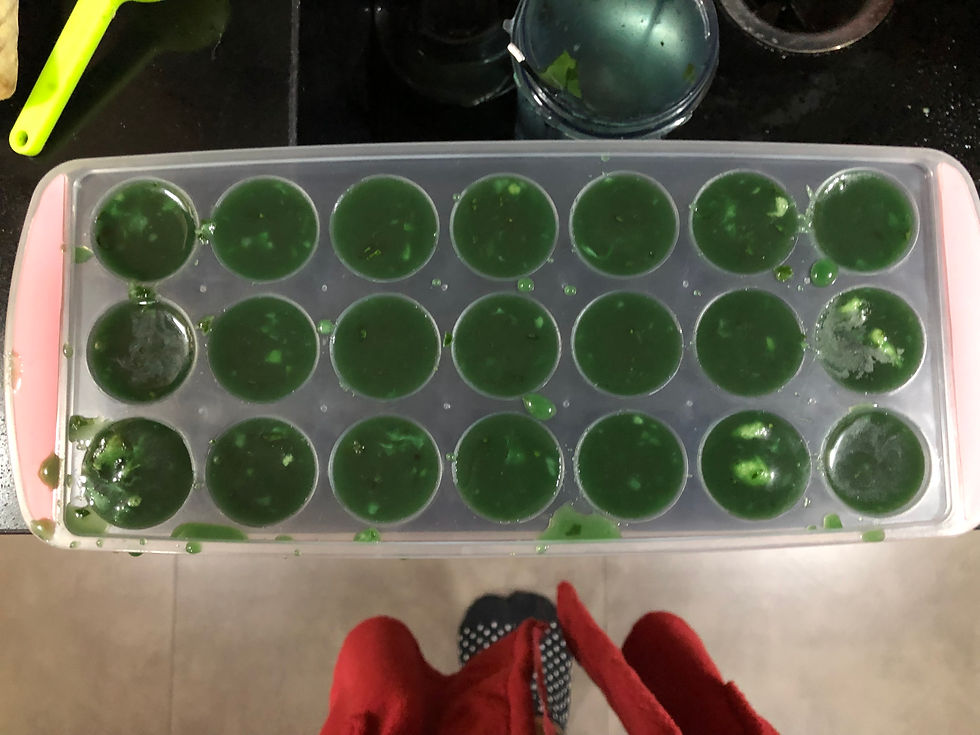
After you are certain everything has been properly stirred and the glaze is very obvious, you are ready to pour them into an ice tray. An ice tray with a silicone bottom is very helpful since we will be keeping them in the freezer, as they will be easier to take out this way. However, any ice tray will work. If you are following this recipe, an ice tray with depth is needed as this will make several servings.


The last step is to simply put the molds into the freezer and wait until they have solidified (or gel-ified...) sufficiently.

Pop them out of the molds when you are ready to use and slice to whatever size you need. Put the rest back in the freezer every time. If this is your first time feeding fish gel food, introduce it to them gradually. The garlic will help to attract them and in a short amount of time they will realize it is food. Enjoy!


Comments